

Brass Gallery Rail
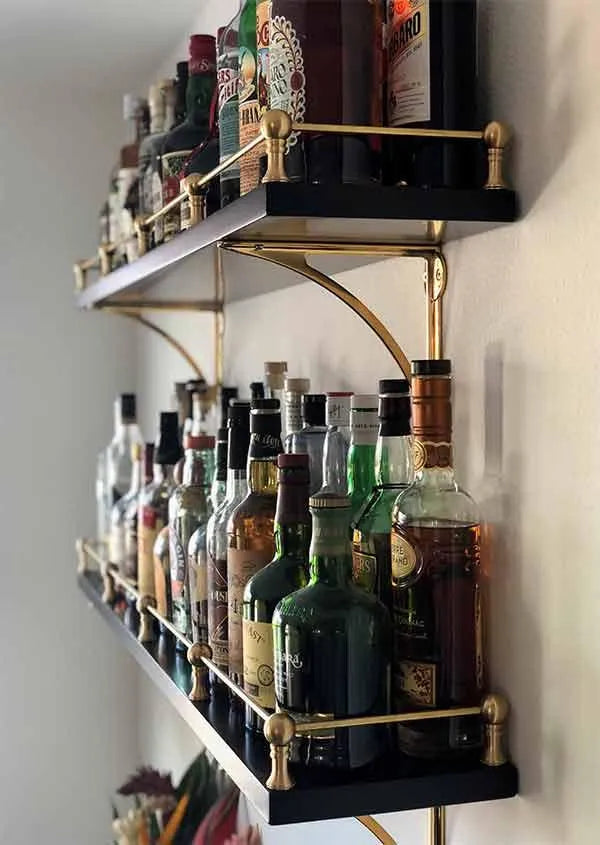
Enhance your kitchen cabinets, mantels, bookshelves, and bar backs with this solid brass gallery rail.
The superior quality, distinctive details, and adaptability ensure it becomes a valued feature in any setting.
Also known as a Tipping Rail, it is easily customizable, adapting to fit nearly any design you envision.
6 Brass Railing Styles - How to select which to use


LAYOUT GUIDE for Solid Brass Gallery
- When selecting, all installations should have an end, corner, or wall post on either end.
- Number of center posts varies according to overall length. Space posts equally across front.
- When positioning Tipping Rail Hardware the placement of posts is subjective. Typical spacing between posts, across front, is approximately 8” – 14” apart. This is a personal preference.
-
Formula to Calculate amount of Center Posts:
1. Divide railing length, by estimated distance between posts.
2. Subtract 1, this equals the number of center posts.
3. Add 2 end posts, wall posts or corner posts to finish
4. If total number of center-posts is a fraction, then distance between posts will need to be adjusted to equal an even number of posts. - If rail will be straight, without sides, use end posts or wall posts, on each end, depending upon application.
- If rail will have sides, use corner posts and end posts
- Please note if using sides: side-spacing often differs from front-spacing
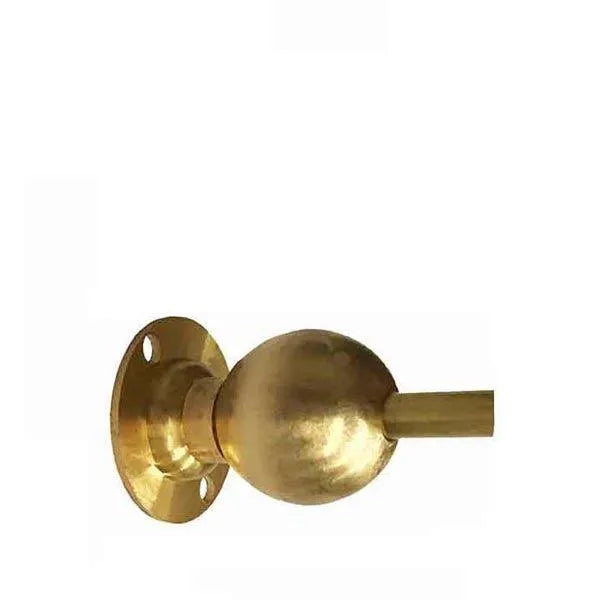
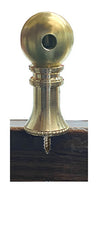
- Post Size: Height: 2-1/4", Top Diameter: 1", Base Diameter: 7/8"
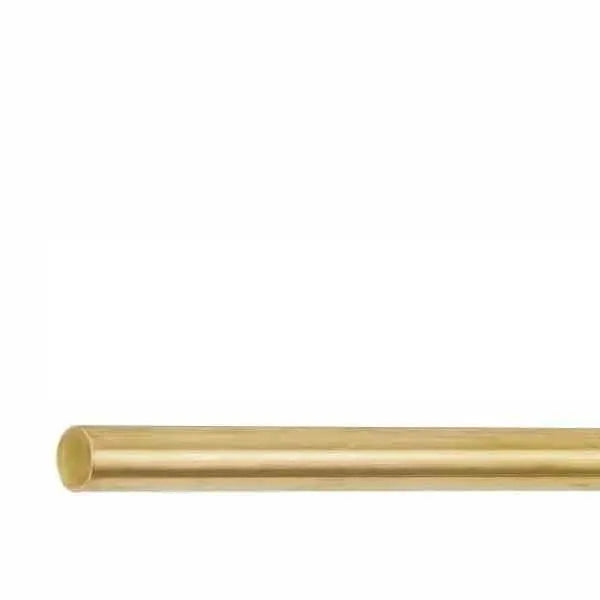
- Rod Size: 1/4" diameter, available in 36” and 72” lengths
- For railings longer than 72", join two rods together within a center post for a seamless appearance.
- Brass rod is easily cut shorter with a hacksaw, if needed.
- A sketch of how you want your traditional furniture rail to appear is helpful in determining design, post placement and length of rod.
INSTALL GUIDE: 3 attachment methods using Tipping Rail Hardware to install Brass Gallery
For each application method - Place posts a minimum of 3/8” from edge.
Machine-Screw Attachment Method for wood and stone
Best and easiest attachment method. Machine screw inserts through hole from underneath mounting surface and screws into bottom of post. Nickel-colored machine screws included.
- Drill hole through wood surface, insert screws from underneath of surface, through hole and thread into bottom of post.
- This Tipping Rail Hardware can be used on stone such as marble or granite provided holes are predrilled at post locations. Machine screws are inserted from under-side of stone, through hole and into base of post.
- Also, if preferred: Brass Ball Head Screws or Brass Thumb Screws can be used, in place of standard machine screws, to attach posts. Use when screw head is visible. Sold separately.
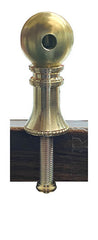
Cap-Nut Attachment Method for wood, stone and tempered glass
This installation method provides an old-time appearance, as it displays a Brass Nut on underside of shelf. Use Threaded stem with brass cap nut in place of standard machine screw attachment method. It is sold separately.
- Drill hole through wood surface to accommodate a 3/8” diameter threaded stem.
- If used on marble, granite, or tempered glass: mounting-holes must be predrilled at post locations.
- If post has brass-bushing in base: unscrew bushing and remove.
- Insert threaded stem from underneath surface, through hole and thread into bottom of post.
- Once installed, brass nut is seen on underside of shelf.
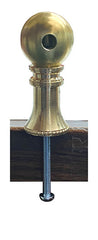
Adapter-Screw Attachment Method for wood surfaces
This installation method is difficult, as it requires extra manipulation of rod and post head when inserting rod. Top mounting will not work if using with posts that are attached to wall. If mounting from top we recommend using Cabinet Railing Posts, as these mount from the top to provide an easier application.
- Screw projects 3/8", from bottom of post, to screw down into top of wood surface.
- Cannot be used in conjunction with posts attached to wall.
- Cannot be used on stone surfaces.
Add a Solid Brass Gallery Rail using Tipping Rail Hardware
- Be sure to choose a brass railing style that your application can accommodate.
- There are 5 additional brass railing styles: Vintage Shelf Rail -- Brass Cabinet Railing -- Retro Brass Railing -- Modern Brass Railing -- Mid-century Modern Rail.
Installation varies between brass railing styles. Go to style you want and click on a center, end or corner post to see specific install info.
View various install-options for the different railing types

Use Tipping Rail Hardware with Brass Shelf Bracket
"The gallery rail and posts I ordered were just what I was looking for. They look great, were easy to install, and high quality at a reasonable price. Also, when placing my initial order I forgot to add additional necessary hardware. Not only was customer service very responsive, but they were more than accommodating in making sure I received just what I needed to complete my project."


Choice Tipping Rail Hardware for Kitchen Cabinets
"I searched the internet to find what I was looking for and found these items at Paxton. The items were delivered in a very timely manner and were exactly what we were looking for. The quality of these items was perfect - not a cheap knock-off, but the real deal!! We were very pleased with how this came together and would highly recommend Paxton Hardware, if you are looking for quality rather than "the cheapest you can find". The cost as well was very competitive, so all in all, we are very happy with our product and with Paxton Hardware."
Gallery


Net Orders Checkout
| Item | Price | Qty | Total | |
|---|---|---|---|---|
| Subtotal |
$0.00 |
|||
| Shipping | ||||
| Total | ||||
Shipping Address
Shipping Methods
Net Orders Checkout
| Item | Price | Qty | Total | |
|---|---|---|---|---|
| Subtotal |
$0.00 |
|||
| Shipping | ||||
| Total | ||||