
Low Tipping Rail
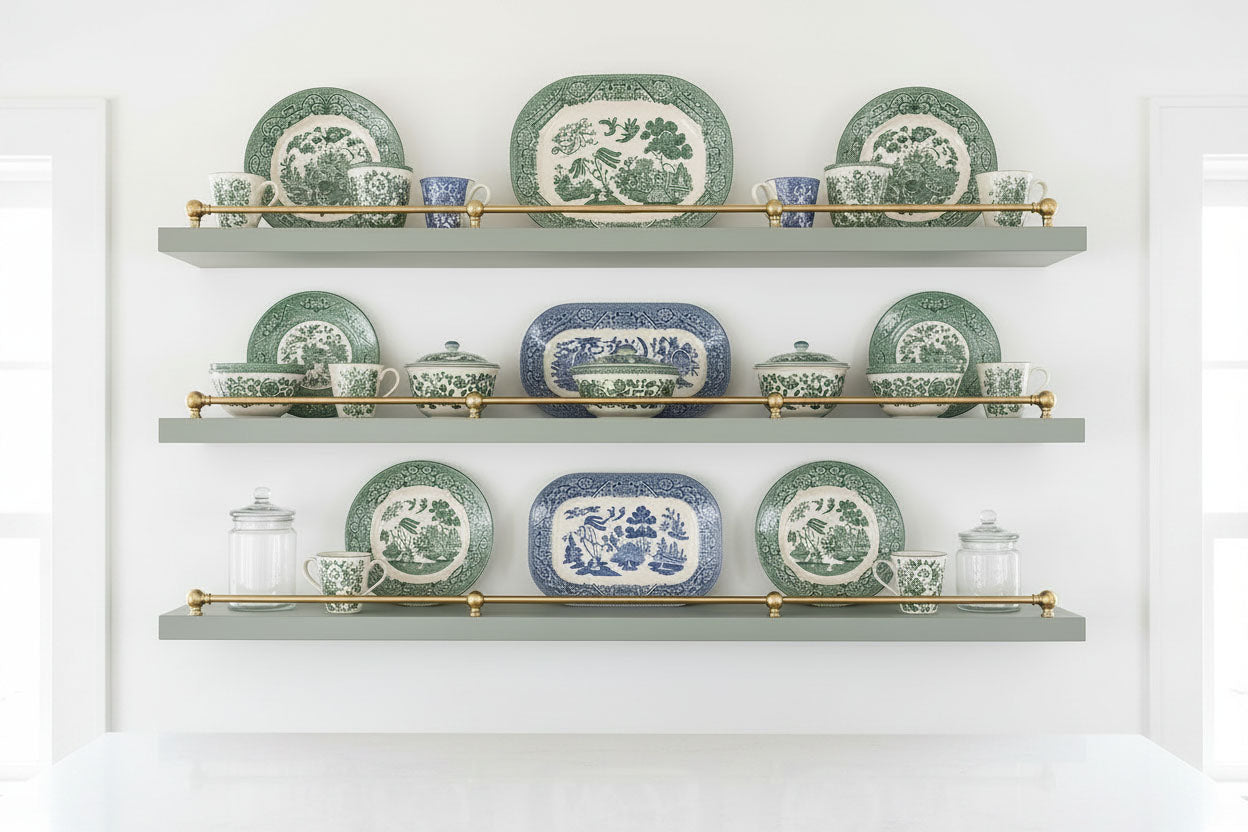
Low Tipping Rail
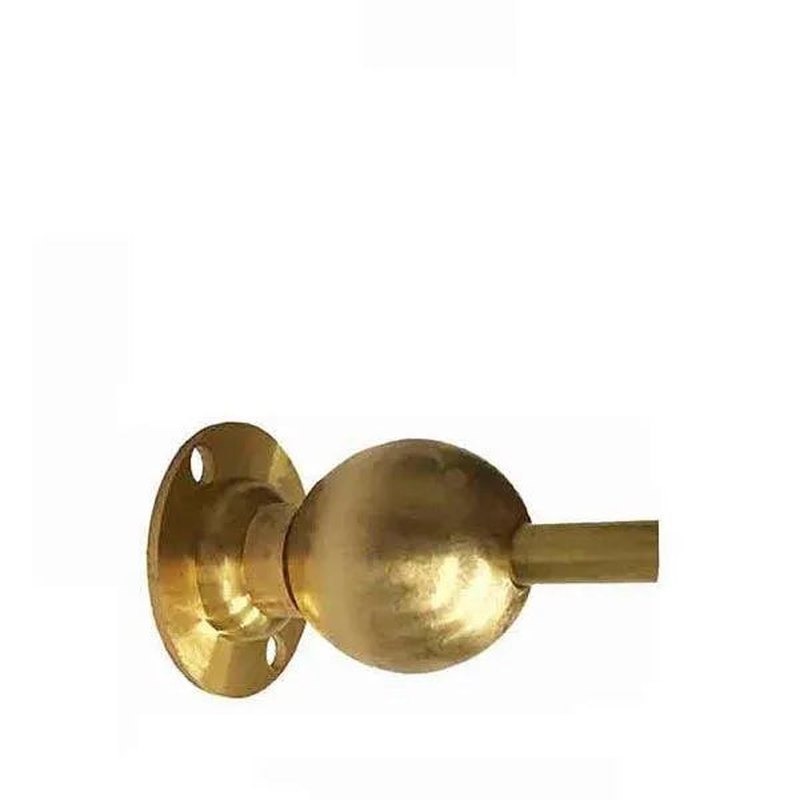
This Low Tipping Rail combines decorative elegance with reliable performance on cabinets, bar backs, and bookshelves. Crafted from solid brass, it seamlessly integrates with many diverse interior styles.
The rail's versatile design accommodates various installation configurations, allowing you to customize the design, length and spacing to suit your specific project requirements.
Build your brass tipping rail by selecting your posts and solid brass rods below. Ordering a sample post before placing a large order will assure installation, appearance and size are appropriate for your project.
Ordering a sample railing post, before placing a large order, wil assure installation, appearance and size are appropriate for your project.
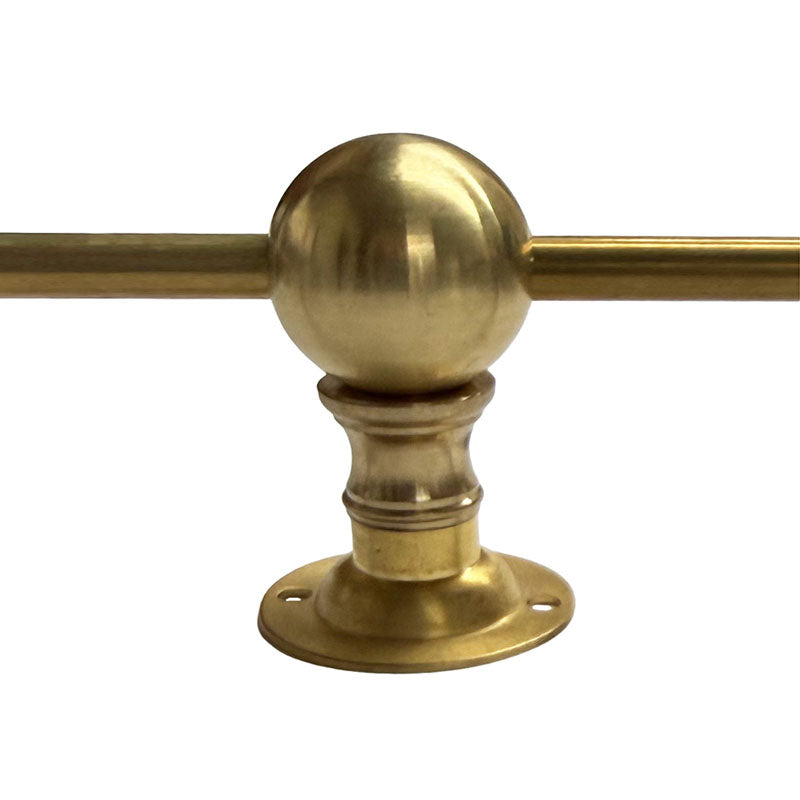
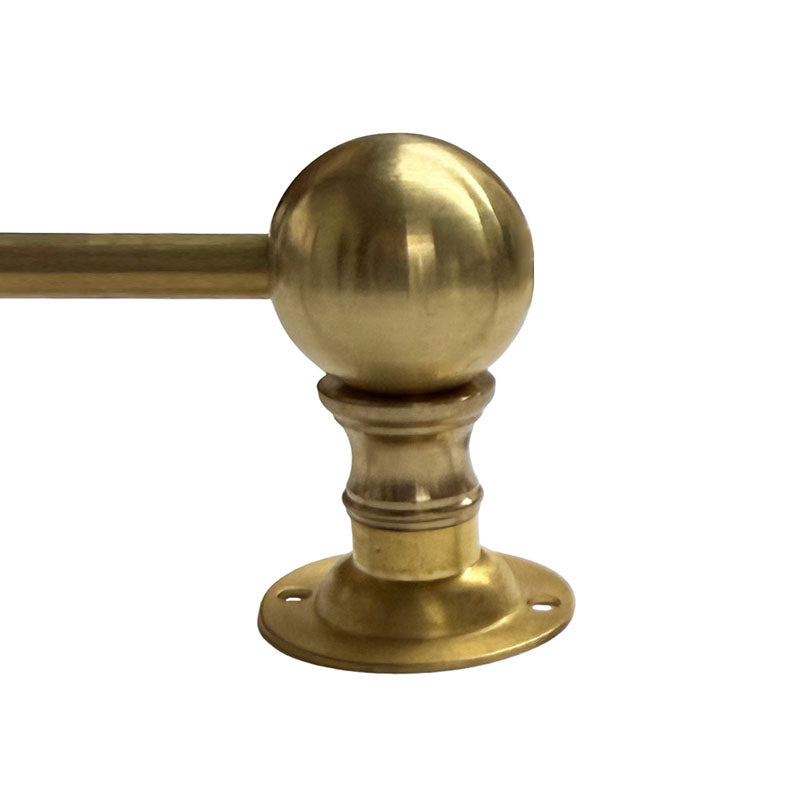
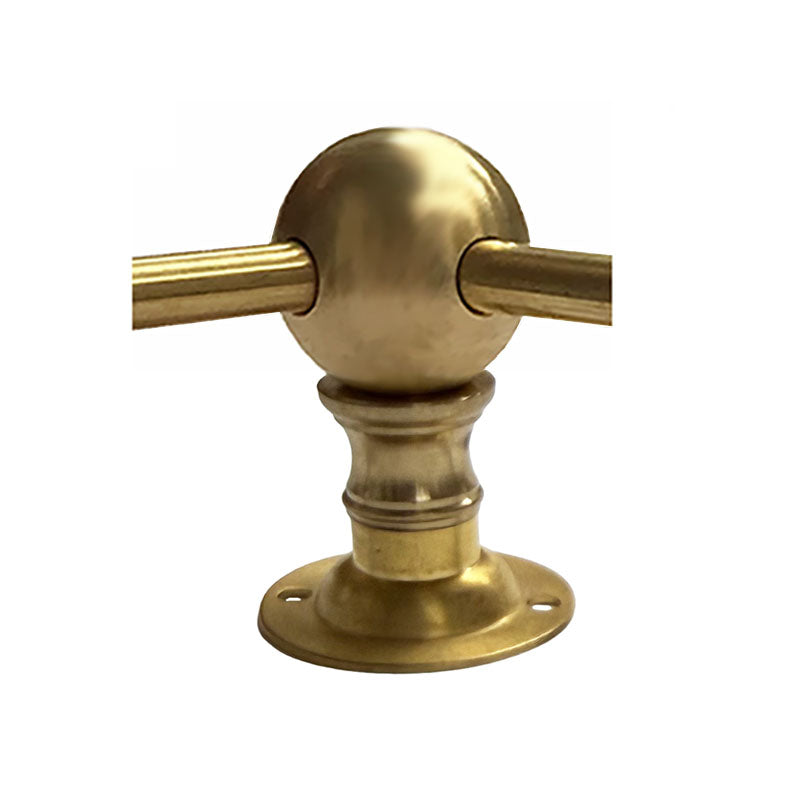
Layout Guide for Low Tipping Rail
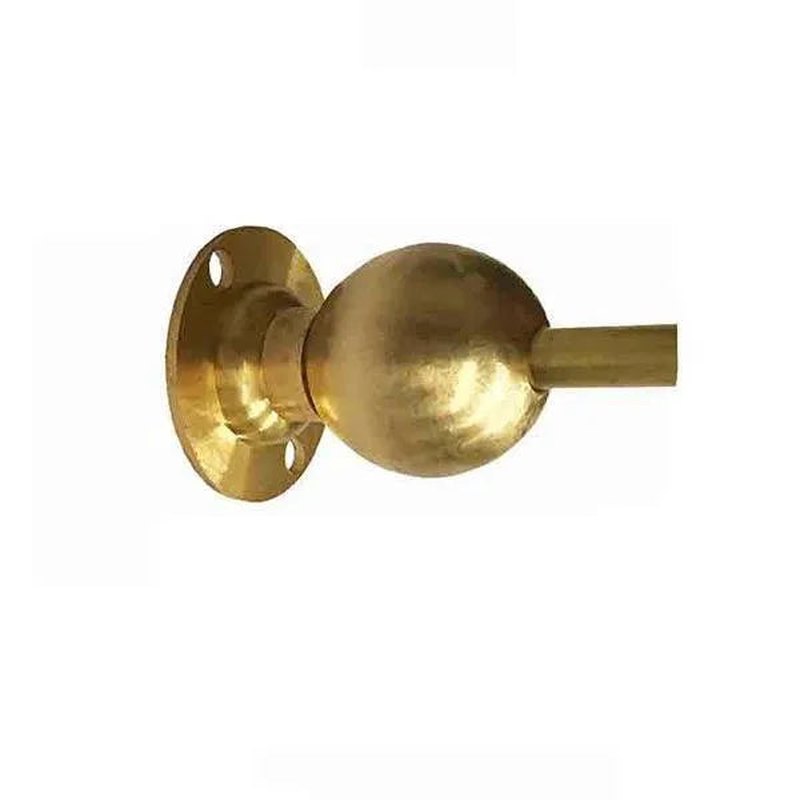
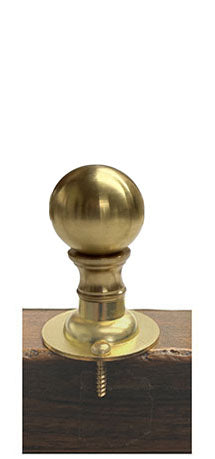
- Post Size: height: 2", top-diameter: 1", base-diameter: 1-1/4", for 1/4" diameter-rod
- Brass wood screws included
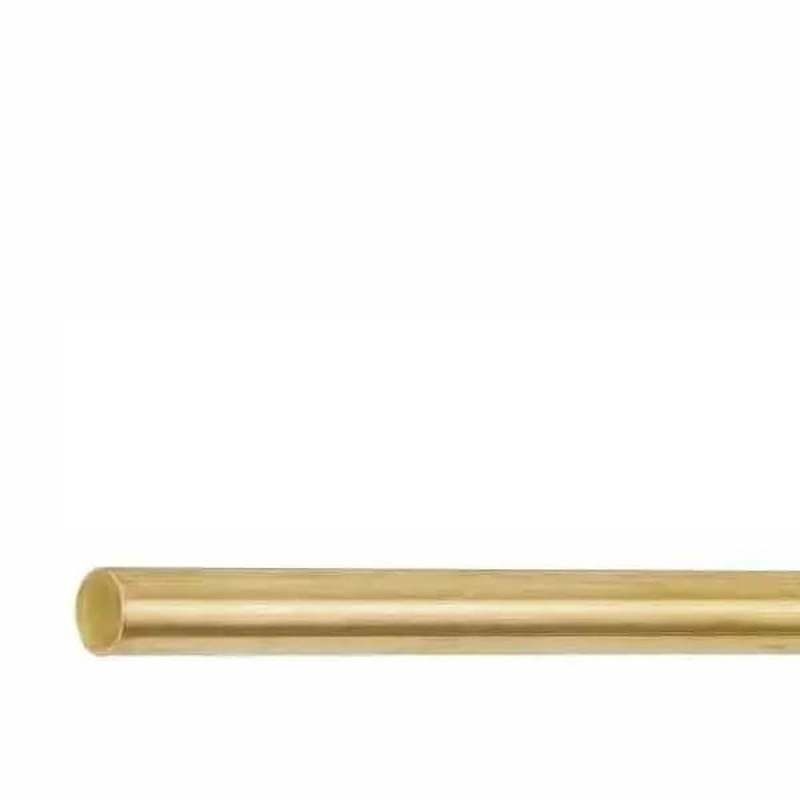
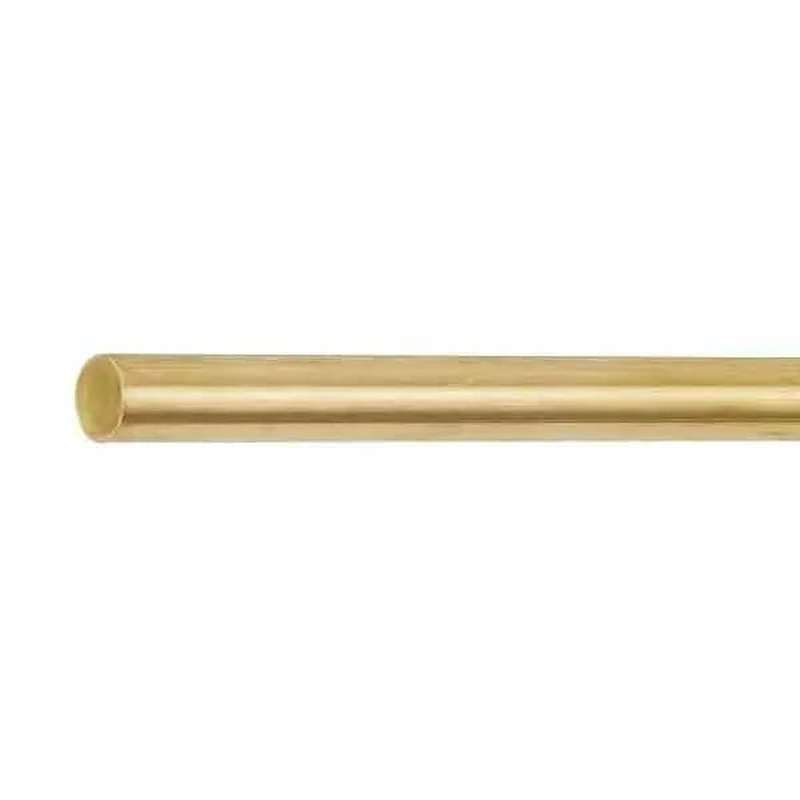
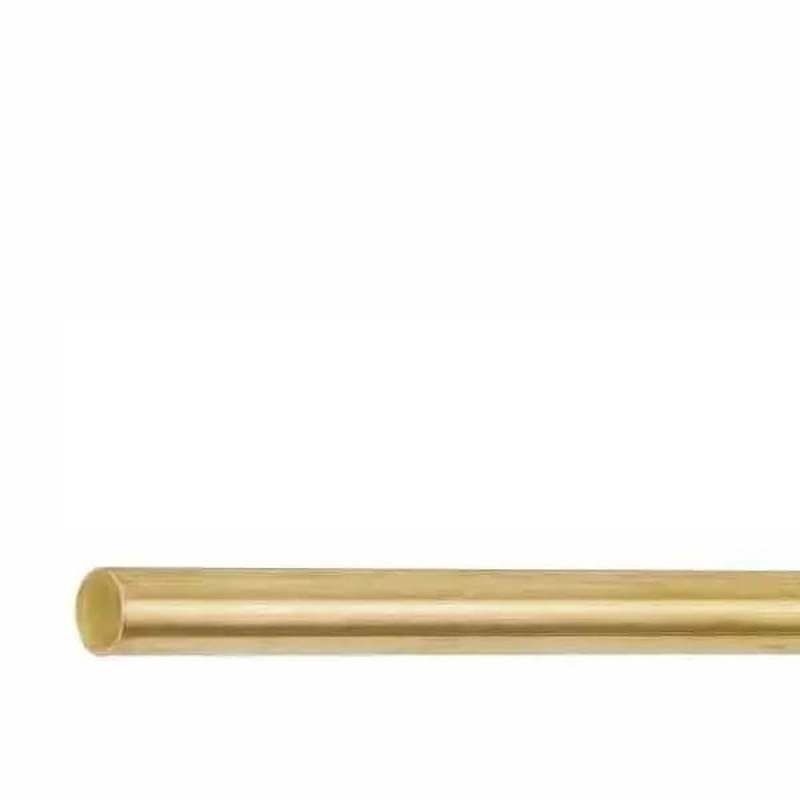
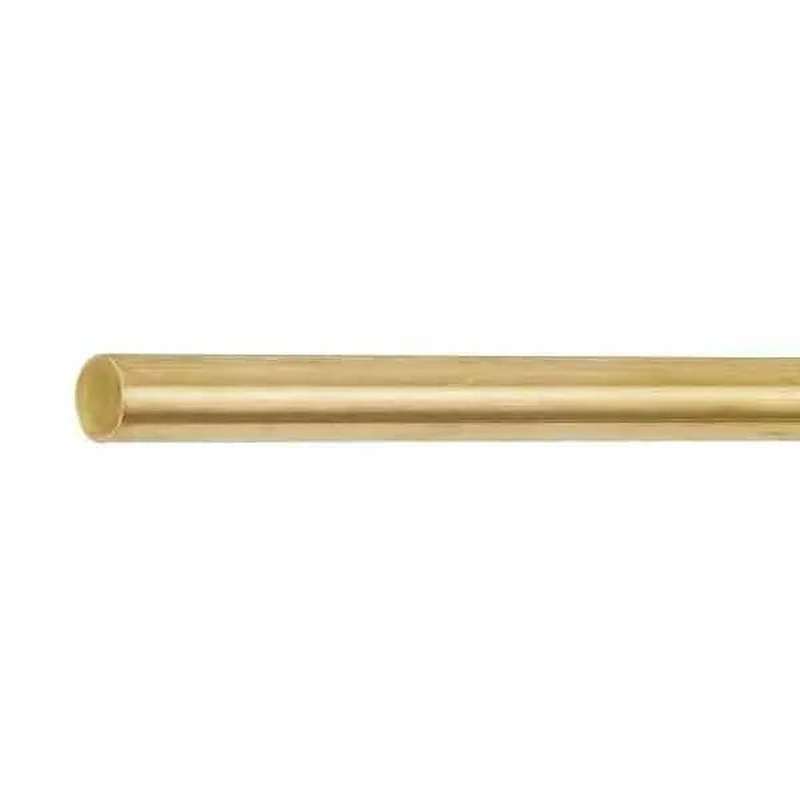
- Rod Size: 1/4" diameter, available in 36”, 48" and 72” lengths. For railings longer than 72", join two rods together within a center post for a seamless appearance. Brass rod is easily cut shorter with a hacksaw, if needed.
How many Railing Posts do I need?
Spacing recommendation for 12" intervals between posts:
. 24" railing calls for 2 end and 1 center post
. 36" railing calls for 2 end and 2 center posts
. 48" requires 2 end and 3 centers
. 60" needs 2 end and 4 centers
. 72" uses 2 end and 5 center posts
. 84" wants 2 end and 6 center posts
Spacing is flexible based on design, see formula below to determine custom spacing.
2 Rods can be joined within a center post to extend railing length.
Need to customize your post spacing?
Use this formula to calculate distance between Center Posts if spacing is different than 12" or if railing length varies from standard lengths. Typically center posts are placed evenly 8” – 14” apart.
1.Divide railing length, by estimated distance between posts.
2. Subtract 1, this equals the number of center posts.
3. Add 2 end posts, wall posts or corner posts to finish
4. If total number of center-posts is a fraction, then distance between posts will need to be adjusted to equal an even number of posts.
What else should be considered when designing a railing?
Begin by sketching your railing layout to clarify design intent and post placement. Use end or wall mount posts with straight railings. Center posts should be spaced evenly across front. If railing has sides, corner posts are necessary.
What is raw unfinished brass?
These posts and rods are solid brass. They are straight from production and have not been treated or finished in any way. This raw brass gives you the freedom to finish it your way—buff it to a lustrous shine, embrace its natural aging process, or apply custom coloring to match your design. The choice is entirely yours.
While we don't handle finishing in-house, there are plenty of options. Brass coloring techniques and solutions are available online. There are also many local area finishing shops that can customize brass to your exact specifications.
Why is a Solid Brass Railing – Tipping Rail Preferred over Other Metal Types?
- Brass ages well, is sturdy and resilient. Its longevity is easily proven by 18th-century brass applications which still function brilliantly after 200 years.
- It is a beautiful metal that can be polished to a bright shine, darkened to an antique finish or left in its natural state to develop a pleasing patina.
- If left unlacquered, brass has antimicrobial properties providing a hygienic benefit to kitchens & baths.
- Brass is an environmentally sustainable and recyclable material. In addition the manufacturing process is often less energy-intensive than the manufacture of other metals. It doesn’t rust like steel or corrode like brass-plated metals.
- This Low Tipping Rail offers decorative design options, contributing elegance and visual appeal to interior environments. Various layout configurations allow for the tailored placement of center, end, corner, or wall-mounted posts to optimize your project design.
Install Guide
For Wood Surfaces
Attach low tipping rail posts to surface top with wood screws. As a result, these posts cannot be used on glass or stone. Screws included.
- Layout brass railing
- Cut rods to appropriate lengths
- Loosely assemble rods and posts
- Place posts a minimum of 3/8” from edge.
- Mark screw location and drill necessary pilot holes for brass screws
- Slip rods in place.
- Insert brass screws through holes in base of posts. Carefully screw them down into pre drilled holes.
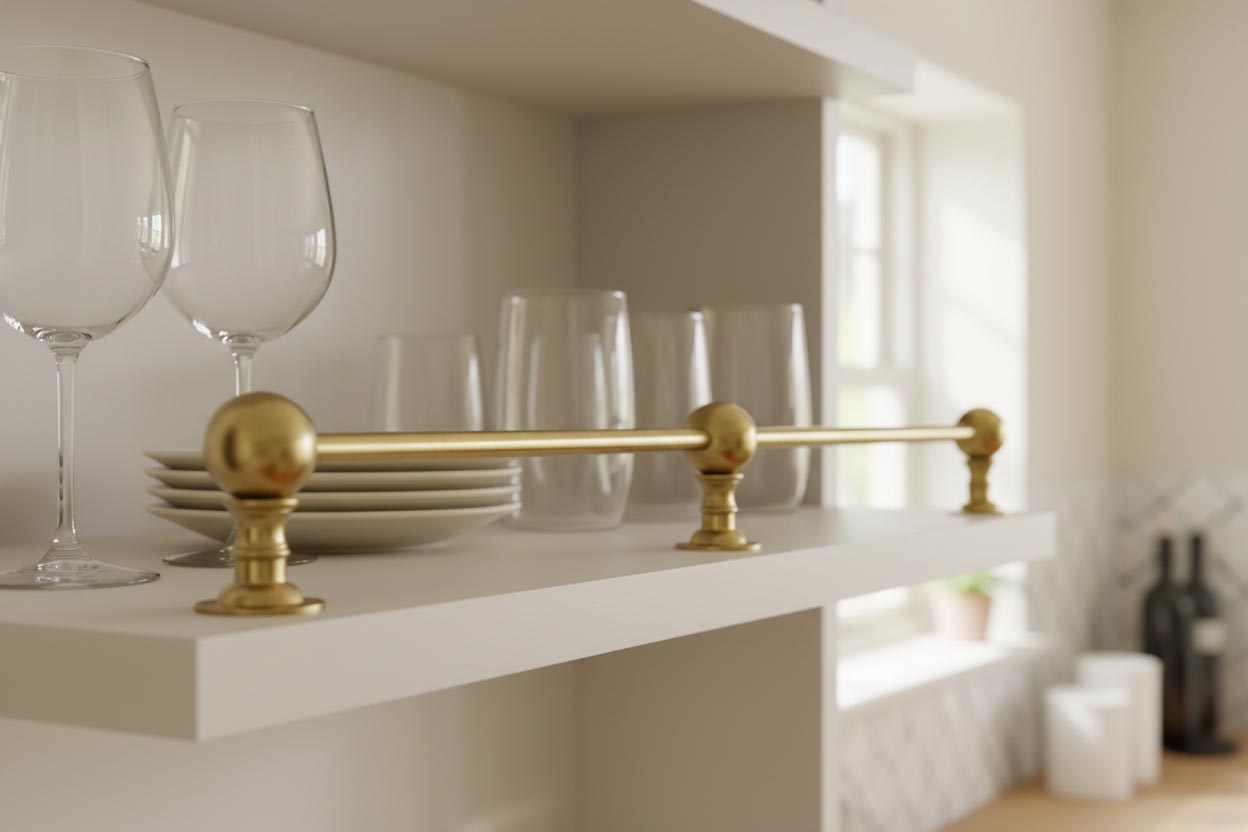
Add Style to Shelving
Whether restoring vintage cabinetry, upgrading bar displays, or adding tipping rails to shelves for function and architectural interest, this solid brass railing delivers both structural integrity and timeless sophistication that complements traditional, transitional, and contemporary interiors alike.

Be sure to choose a brass railing style that your application can accommodate. There are 6 additional brass railing styles:
- Vintage Shelf Rail
- Brass Cabinet Railing
- Retro Brass Railing
- Modern Brass Railing
- Mid-century Modern Rail.
- Low Tipping Rail
Installation varies between brass railing styles. Go to style you want and click on a center, end or corner post to see specific install info.
View various install-options for the different railing types